Modern phones take impressive photos, and a well-made DIY headshot can be fine for many uses, especially when you need something quickly. The secret isn't the phone. It's the light, the camera position and a bit of patience.
This guide is general information written in our own words. We don't recommend particular photographers, studios or products, and we never quote prices: rates vary widely, so ask for written quotes.
Find soft light
Light is the most important factor. Face a large window during the day, with no direct sun shining through. Soft, even window light reduces harsh shadows and makes skin look natural. Turn off overhead lights, which can add unflattering shadows and colour casts. Outdoors, look for open shade, such as under a veranda or on the shady side of a building.
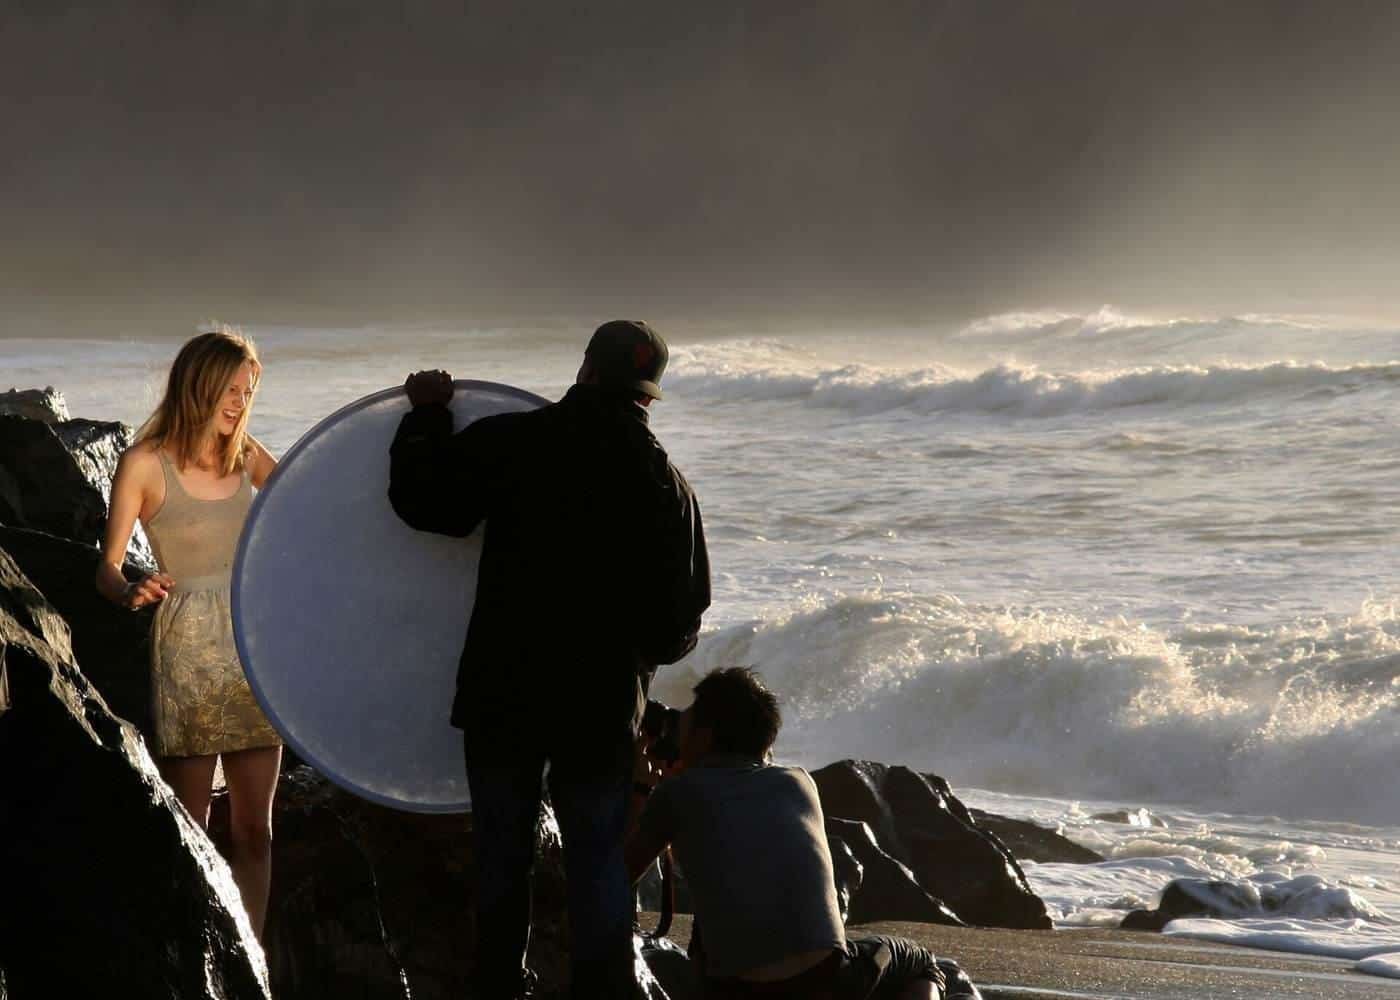
If one side of your face is darker, hold a white sheet of card, a white towel or a pale wall on that side to bounce light back. This is what photographers do with reflectors.
Choose a simple background
A plain wall or a softly blurred, uncluttered space works best. Stand a metre or more in front of the wall so you don't cast a shadow on it, and so it blurs a little. Remove clutter from the frame.
Camera height and distance
Place the phone at eye level or slightly above. A low angle looks up your nose; a very high angle can distort your proportions. Avoid holding the phone at arm's length, because wide-angle lenses close to your face can exaggerate features. Instead, put the phone on a tripod, shelf or stack of books a little further away and zoom slightly or crop later.
Use a timer or remote
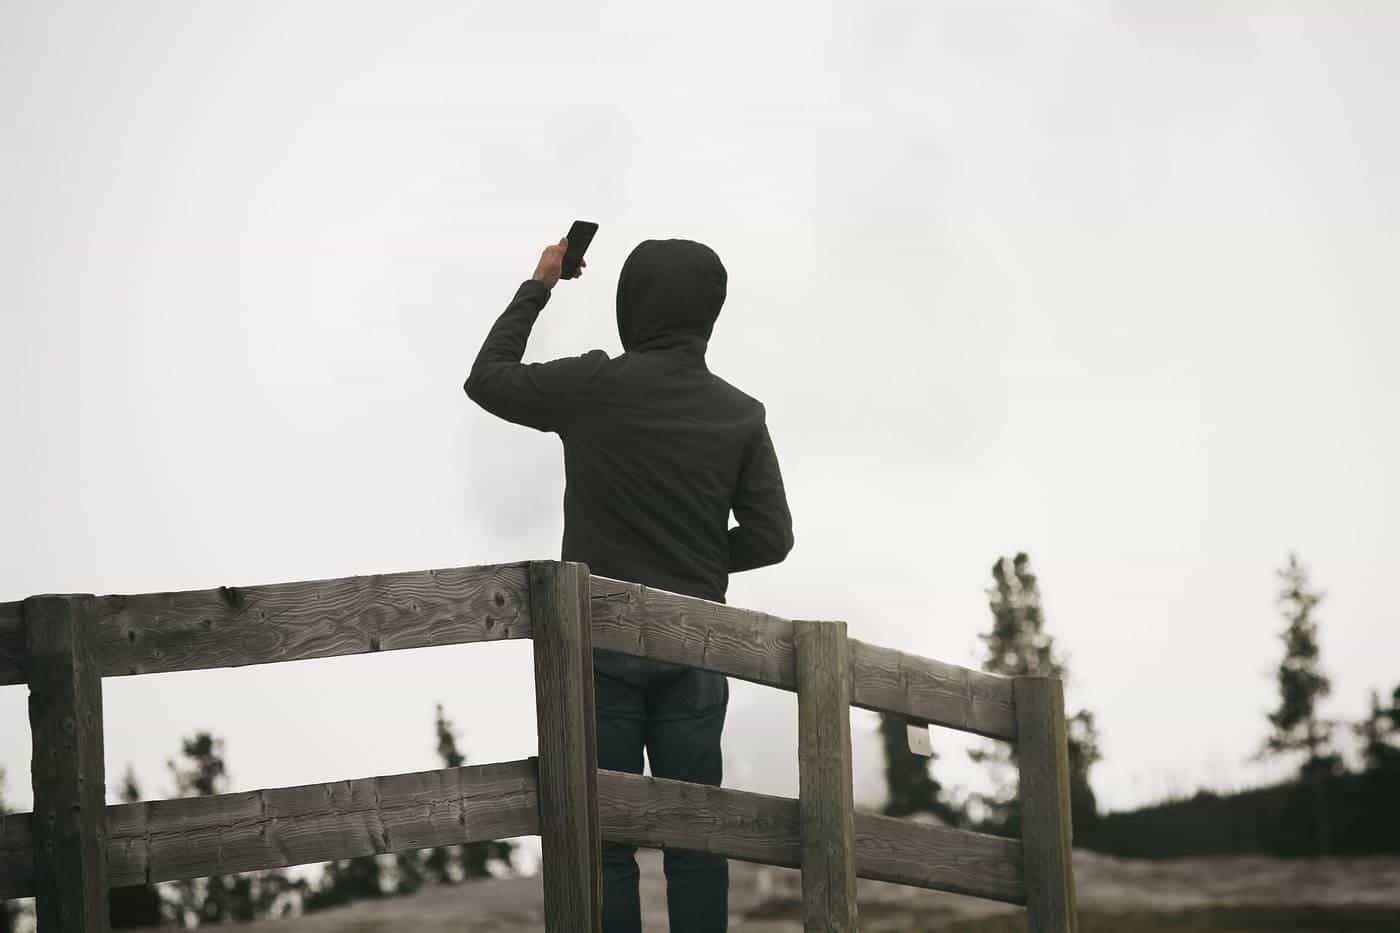
Use the phone's self-timer, a Bluetooth remote, a smartwatch app or a voice shutter. Many phones also have a burst mode, which takes several frames at once, giving you options with eyes open and a natural expression. If someone can help, ask them to take the photo while you focus on your expression.
Front or rear camera
Rear cameras are often higher quality than front cameras. With a tripod and timer, you can use the rear camera even though you can't see the screen. Take some test shots, check them, and adjust.
Framing
For profile photos, frame head and shoulders, with some space above your head and at the sides. Keep your eyes roughly a third of the way down. Take both portrait and square frames so you have options. LinkedIn Help says profile photos must be at least 400 × 400 pixels, so avoid cropping so tightly that the file becomes small.
Focus and sharpness
Tap your eye on the screen to set focus and exposure before the timer starts. Clean the lens with a soft cloth; a smudged lens causes a hazy look. Hold still while the photo is taken.
Portrait mode
Portrait or depth modes can blur the background attractively. Check the edges of your hair, glasses and shoulders, where the effect can look unnatural. If it looks odd, turn it off and rely on distance from the background instead.
Simple editing
Light editing is fine: straighten, crop, adjust brightness slightly and remove an obvious blemish. Avoid heavy smoothing or filters that change your features. The photo should look like you.
Passport and ID photos
Passport photos are not the same as headshots. The Australian Passport Office sets strict rules, including a plain white or light grey background, a neutral expression, a face centred and looking straight at the camera, and specific size requirements. Check the official rules before using any DIY photo for ID.
A simple home setup
A basic setup needs only a window, a plain wall, a stand for your phone and something white to bounce light. Stand facing the window, about a metre from the wall behind you. Set the phone at eye level, use the timer, and take many frames. Check them on a larger screen, adjust and try again. Small changes in angle and distance make a big difference.
When to hire a professional
DIY photos can be fine for many purposes. Consider a professional if the photo will be used for important marketing, a company website, acting or media, or if you want help with lighting and posing. A professional can also give you consistent results that match colleagues.
Common DIY mistakes
Common problems include mixed lighting from windows and lamps, cluttered backgrounds, a camera that is too low, and heavy filters. Fixing these simple things gets you most of the way to a clean headshot.
Use the shoot planner
Our free shoot planner turns what you need the photo for into a simple brief, covering framing, background, expression, outfits and a list of what to bring. It runs entirely in your browser, and nothing you choose is sent anywhere. Use it to prepare before you contact photographers, or to plan a DIY session at home.
Where our information comes from
We base factual statements in our guides on official and expert sources, such as the Australian Copyright Council, the ACCC, the Office of the Australian Information Commissioner, the eSafety Commissioner, the Australian Passport Office and platform help pages, which we list at the end of each page. Practical tips are general and written in our own words. Rules and platform requirements change, so check the source links before relying on any detail.
A good headshot in one sentence
A good headshot is sharp on the eyes, evenly lit, simply framed, current, and shows you looking relaxed and like yourself on a good day. Everything else in this guide supports those few goals.
Questions worth asking yourself
Before any shoot, ask yourself: where will this photo be used, who will see it, what impression do I want to give, and how will I feel about it in two years? Your answers guide your choices about clothes, setting, expression and photographer, and help you brief the person behind the camera.
Common mistakes to avoid
Common headshot problems include out-of-date photos, cluttered backgrounds, cropped group photos, sunglasses, heavy filters and low-resolution files. Each one is easy to fix with a little planning. If your current photo has one of these issues, it may be time for a refresh.
A note on accessibility
If you have accessibility needs, tell the photographer when booking. Many studios can arrange step-free access, seating, extra time or a quieter session. A good photographer will adapt the shoot so you are comfortable and look your best.
Understanding light in a headshot
Photographers often talk about the key light, the main light on your face, and the fill, which softens the shadows it creates. A large, soft light source close to you produces gentle shadows; a small, hard source produces crisp ones. Many classic portrait setups, such as loop or Rembrandt lighting, are named after the shape of the shadow they leave beside the nose. You don't need to know the terms, but asking a photographer how they plan to light you is a good way to understand their style.
Choosing a background colour
Neutral greys suit almost everyone and almost every website. White can look clean and modern but may blend with pale clothing or hair. Dark backgrounds feel dramatic and suit some creative and performing fields. Brand colours can work for teams if they are not too saturated. If you are unsure, a mid-grey with a soft gradient is a safe, timeless choice.
File formats and sizes
Most headshots are delivered as JPG files, which are widely supported and compact. Ask for a full-resolution file for print and a smaller web version for quick uploads. Some photographers also provide square crops for profile photos. Keep the largest file you receive as your master copy, and make smaller versions from it as needed rather than repeatedly re-saving edited copies, which can reduce quality.
Key points
- Soft window light and a plain background matter more than the phone.
- Place the phone at eye level, a little further away, on a stand.
- Use a timer, remote or burst mode for natural expressions.
- Passport photos have strict official rules; check them first.
Frequently asked questions
Should I use the front or rear camera?
Rear cameras are often higher quality. Use a timer or remote with a tripod so you can use the rear camera.
What is the best light for a DIY headshot?
Soft window light from in front or slightly to the side is a simple, flattering choice.
Should I use portrait mode?
It can blur the background nicely, but check edges around hair and glasses for odd cut-outs.
Can I use a DIY photo for a passport?
Passport photos have strict rules. Check the Australian Passport Office requirements.
Sources and further reading
Facts on this page were checked against these primary and official sources. Conditions change — confirm before you travel or buy.
- Photo won't upload to your profile — LinkedIn Help
- Passport photos — Australian Passport Office